Start by turning the silk inside out so that dull backside it facing skywards and the shiny frontside is face down. Lay the silk evenly on an ironing board and use a spray bottle to add moisture. Cover the area you wish to iron with a cotton pressing cloth and turn the iron on to the lowest heat setting. Hand press the iron on the press cloth and continue until the silk is completely wrinkle free.
This is How to Iron Silk: Step-by-Step Guide
Our article How to Iron Silk: Step-by-Step Guide gives you easy to follow step-by-step instructions so that you can iron your silk safely and properly.
Contents:
Use our care guides to make sure you are giving your silk fabrics the proper care treatments!

How to Iron Silk
Having creases on your silk garment is not a good look, but luckily we can remove those stubborn wrinkles quickly and easily by using an iron. The process for ironing silk is very similar for silk shirts, silk blouses, silk dresses, silk pajamas, silk scarves and other items made from silk.
Things You'll Need:
- An iron
- An ironing board
- A pressing cloth
- A spray bottle
- Silk fabric
Carefully follow the steps or watch the video below to learn how to iron silk properly.
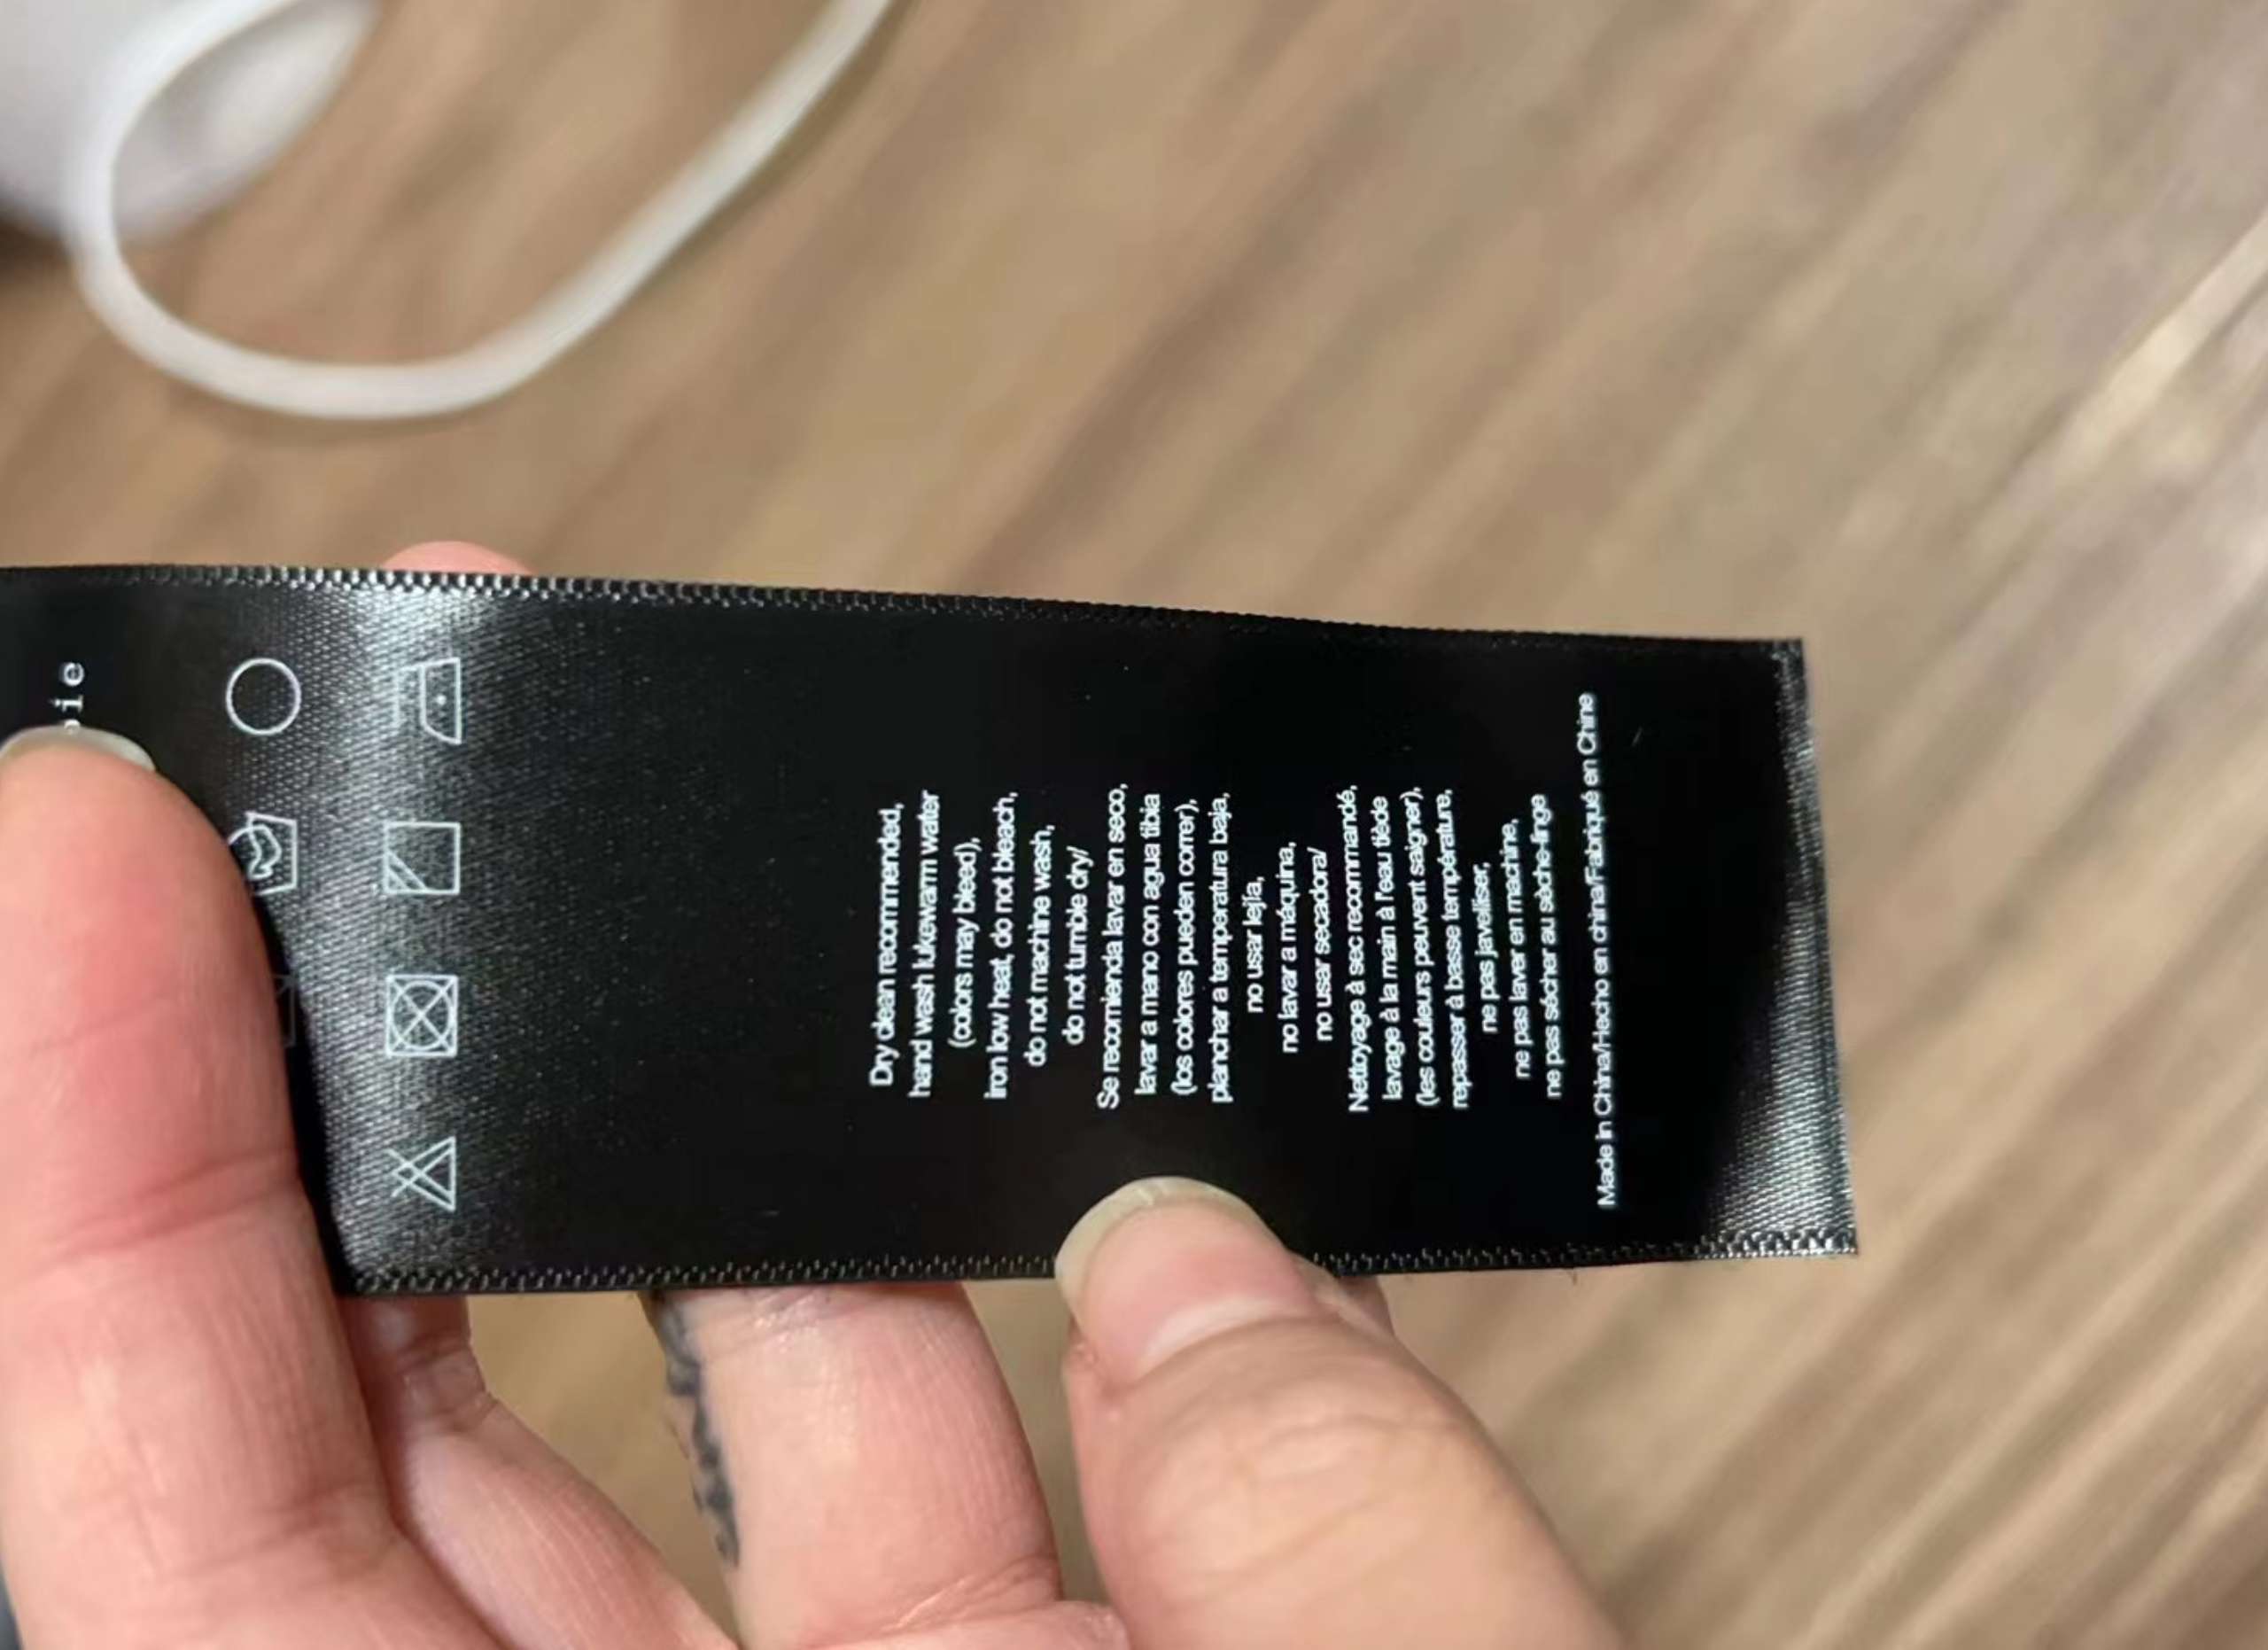
1. Check the Care Label
Before you administer any kind of care to your silk clothing, you must first check the garment's care label. If your garment's care label says to dry clean only, then take it to the dry cleaners and do not attempt to iron at home. Also check the care label for any other special instructions or guidelines.
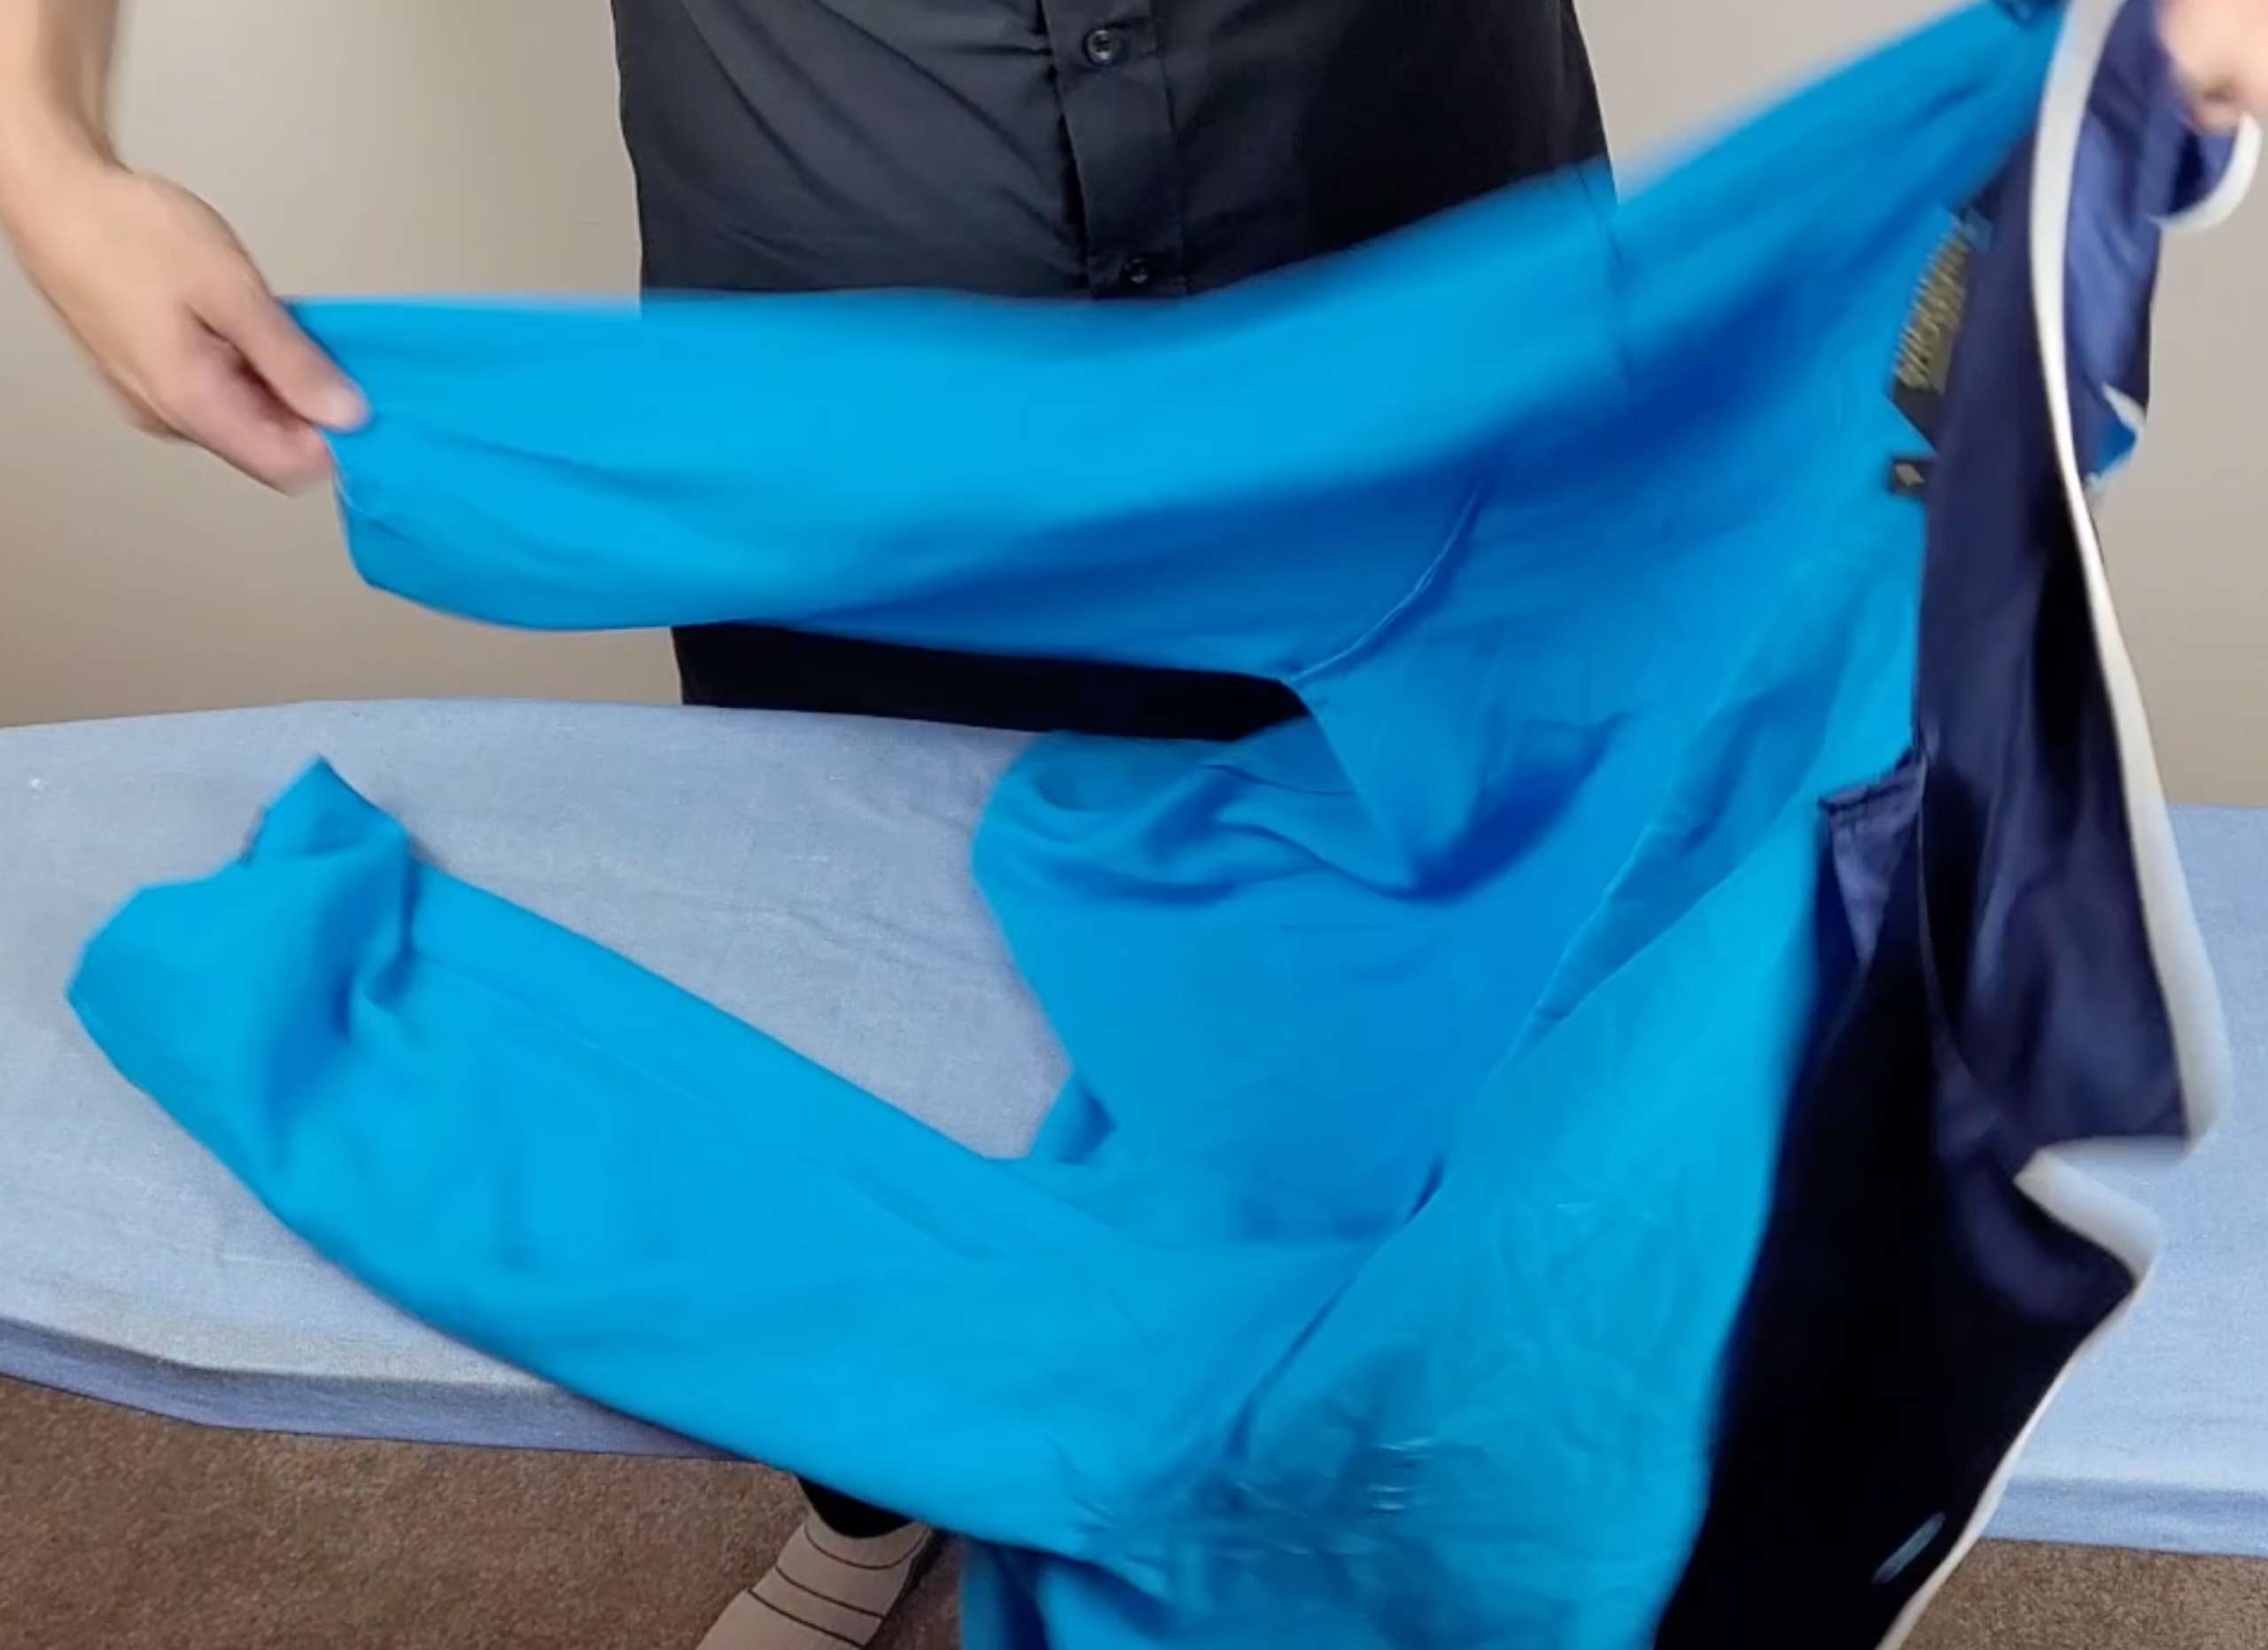
2. Turn the Garment Inside Out
Turn the garment inside out and lay it evenly on the ironing board so that the dull backside of the fabric is facing skywards. Always iron silk cloth from the dull backside, and never the glossy frontside.
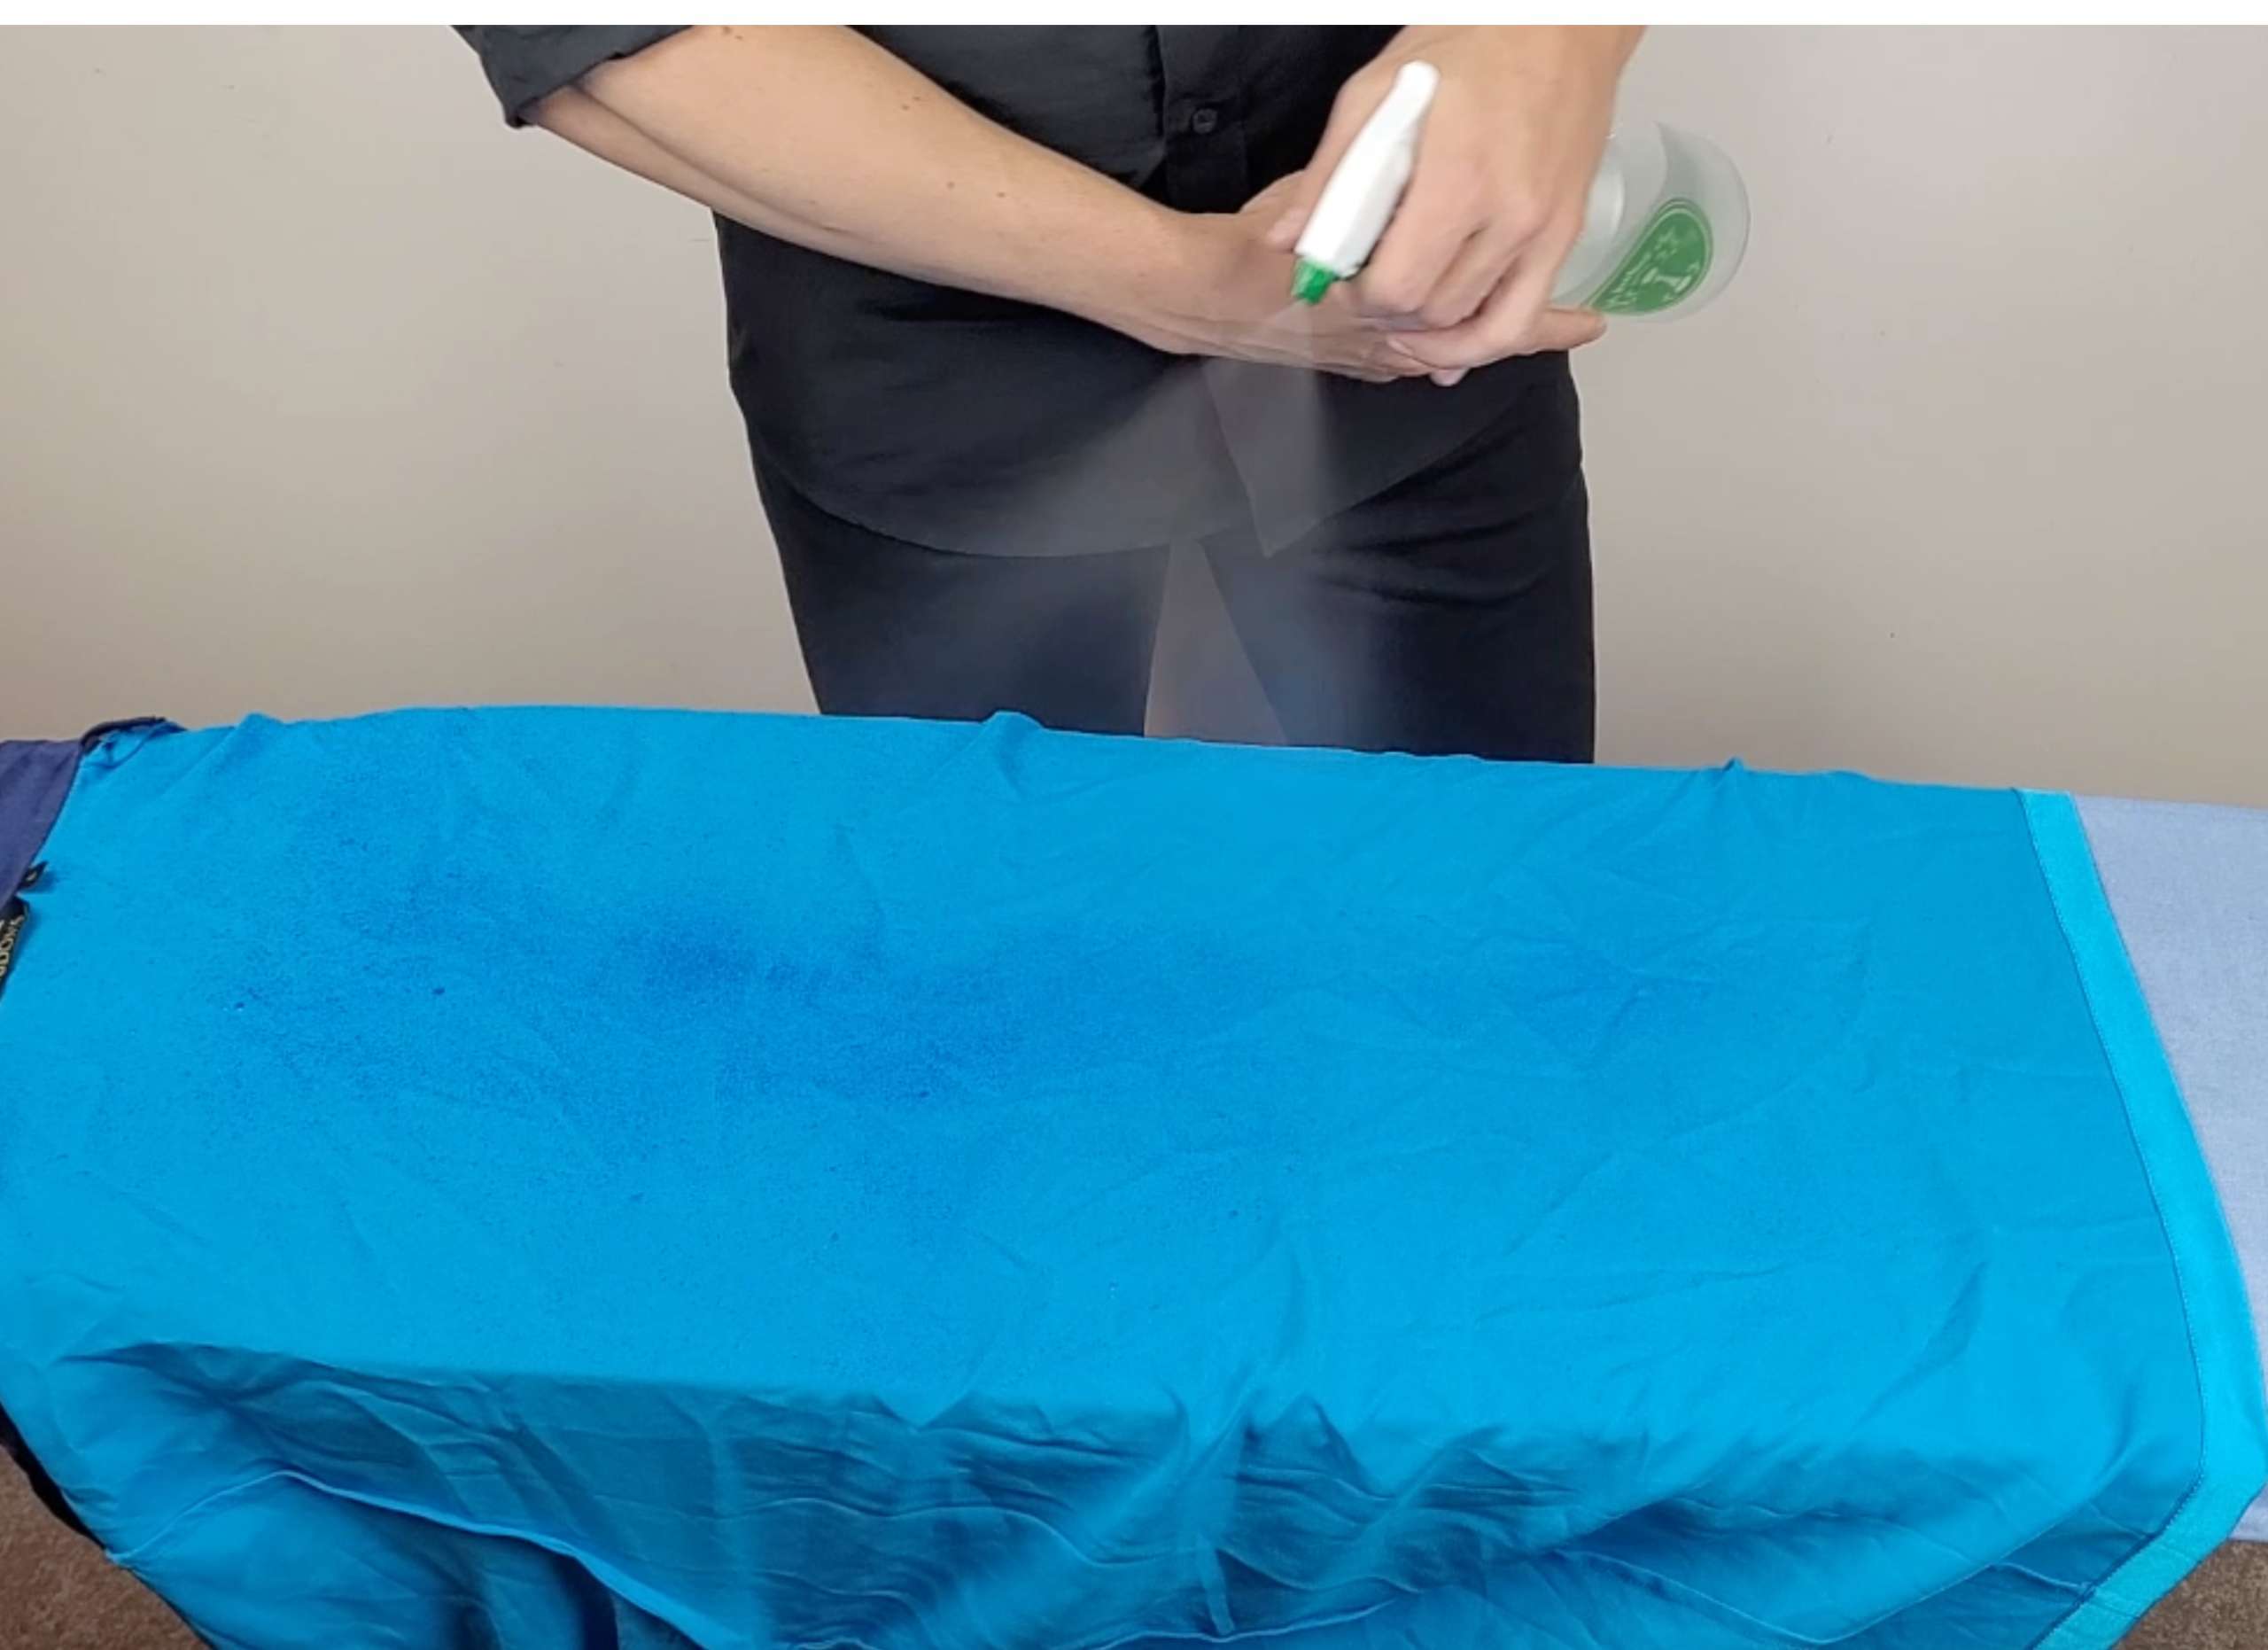
3. Add Moisture
Fill a spray bottle with clean water, adjust to the mist setting, and spray evenly throughout the area you wish to iron. If your silk has deep wrinkles or creases you may choose to add a little extra moisture. Your silk should be slightly damp but not soaking wet when you are preparing to iron. Never iron a dry silk garment.
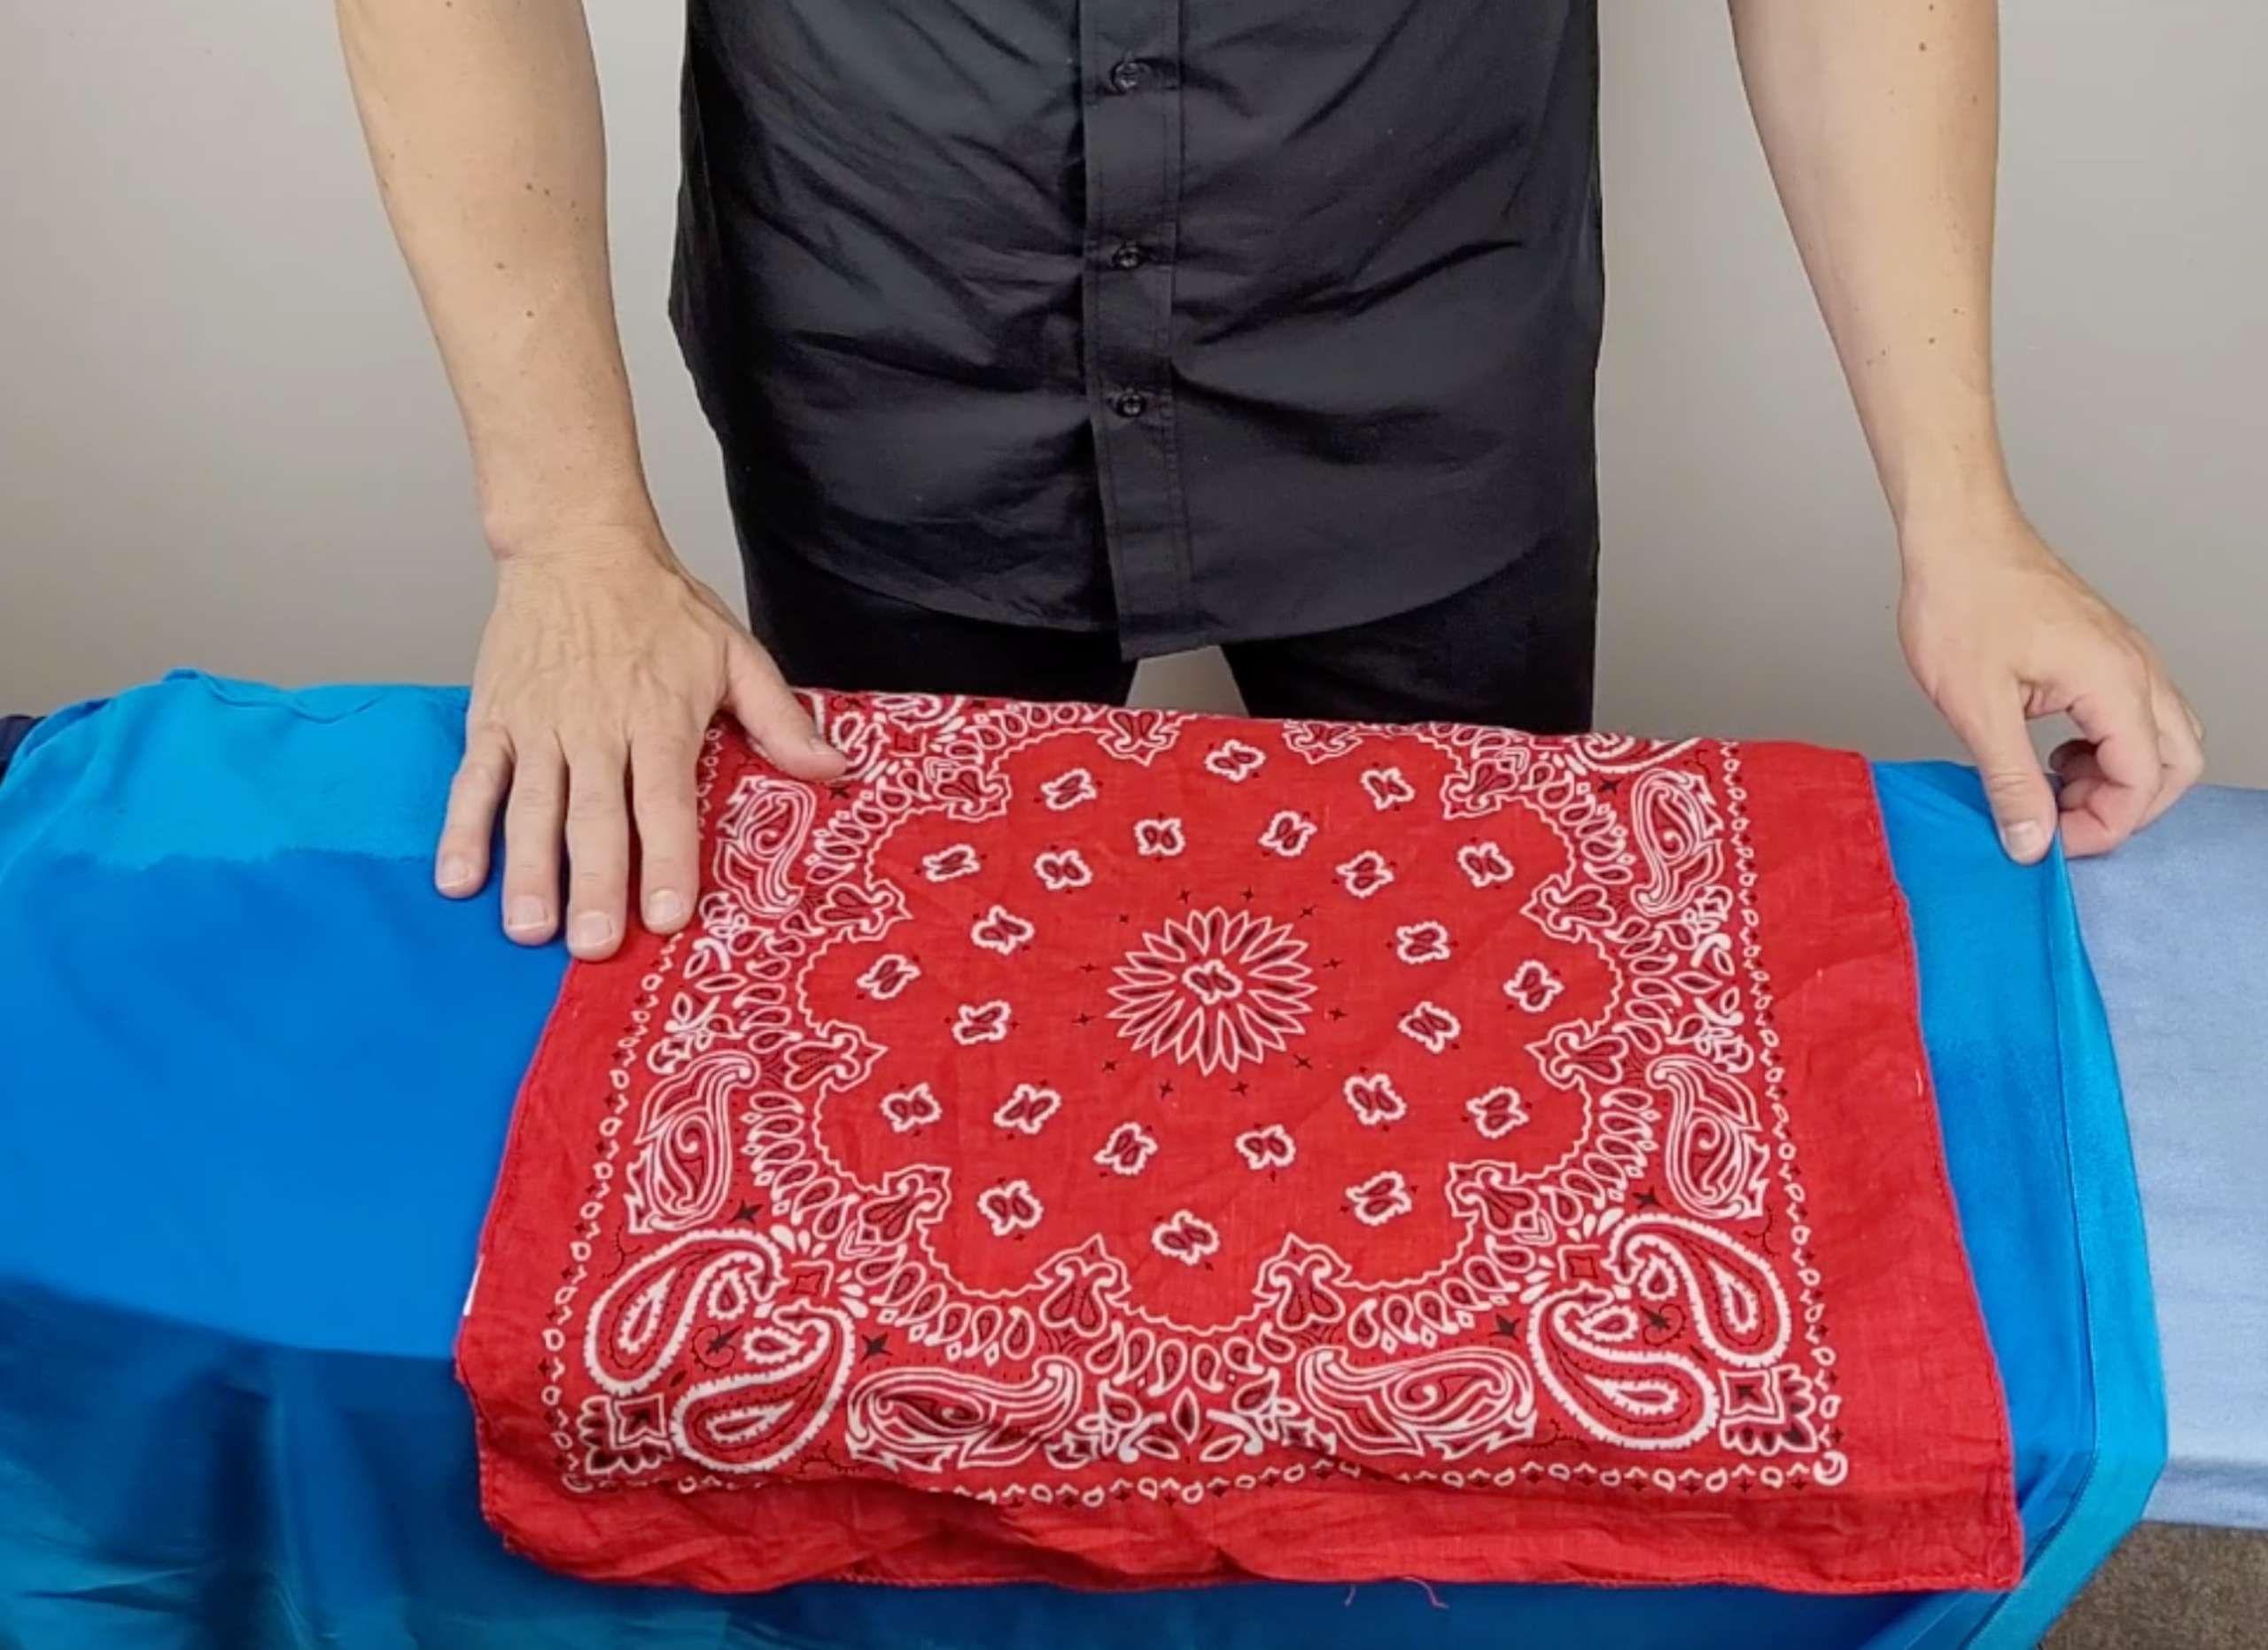
4. Pressing Cloth
Place a thin cotton pressing cloth over the area you wish to iron. This can be a bandana, a pillowcase, a thin towel, or something else similar in weight. I prefer to use a bandana. Never press a hot iron directly onto the surface of silk fabric.
5. Lowest Heat Setting
Adjust the iron to the lowest heat setting possible. This setting may be referred to as the silk setting, the delicate fabrics setting, or it may also simply be referred to as 1.
Tip: If I am in a place such as a hotel and the quality of the iron is not as good, I will start at the lowest heat setting and gradually and cautiously turn the dial up until the temperature is sufficient enough for removing wrinkles. I was at a hotel recently and had to turn the dial all the way up to level 3 before it was effective for ironing silk. It is also beneficial to have some steam emitting from the iron while you press your silk garment. Just be sure to increase the temperature slowly and carefully.
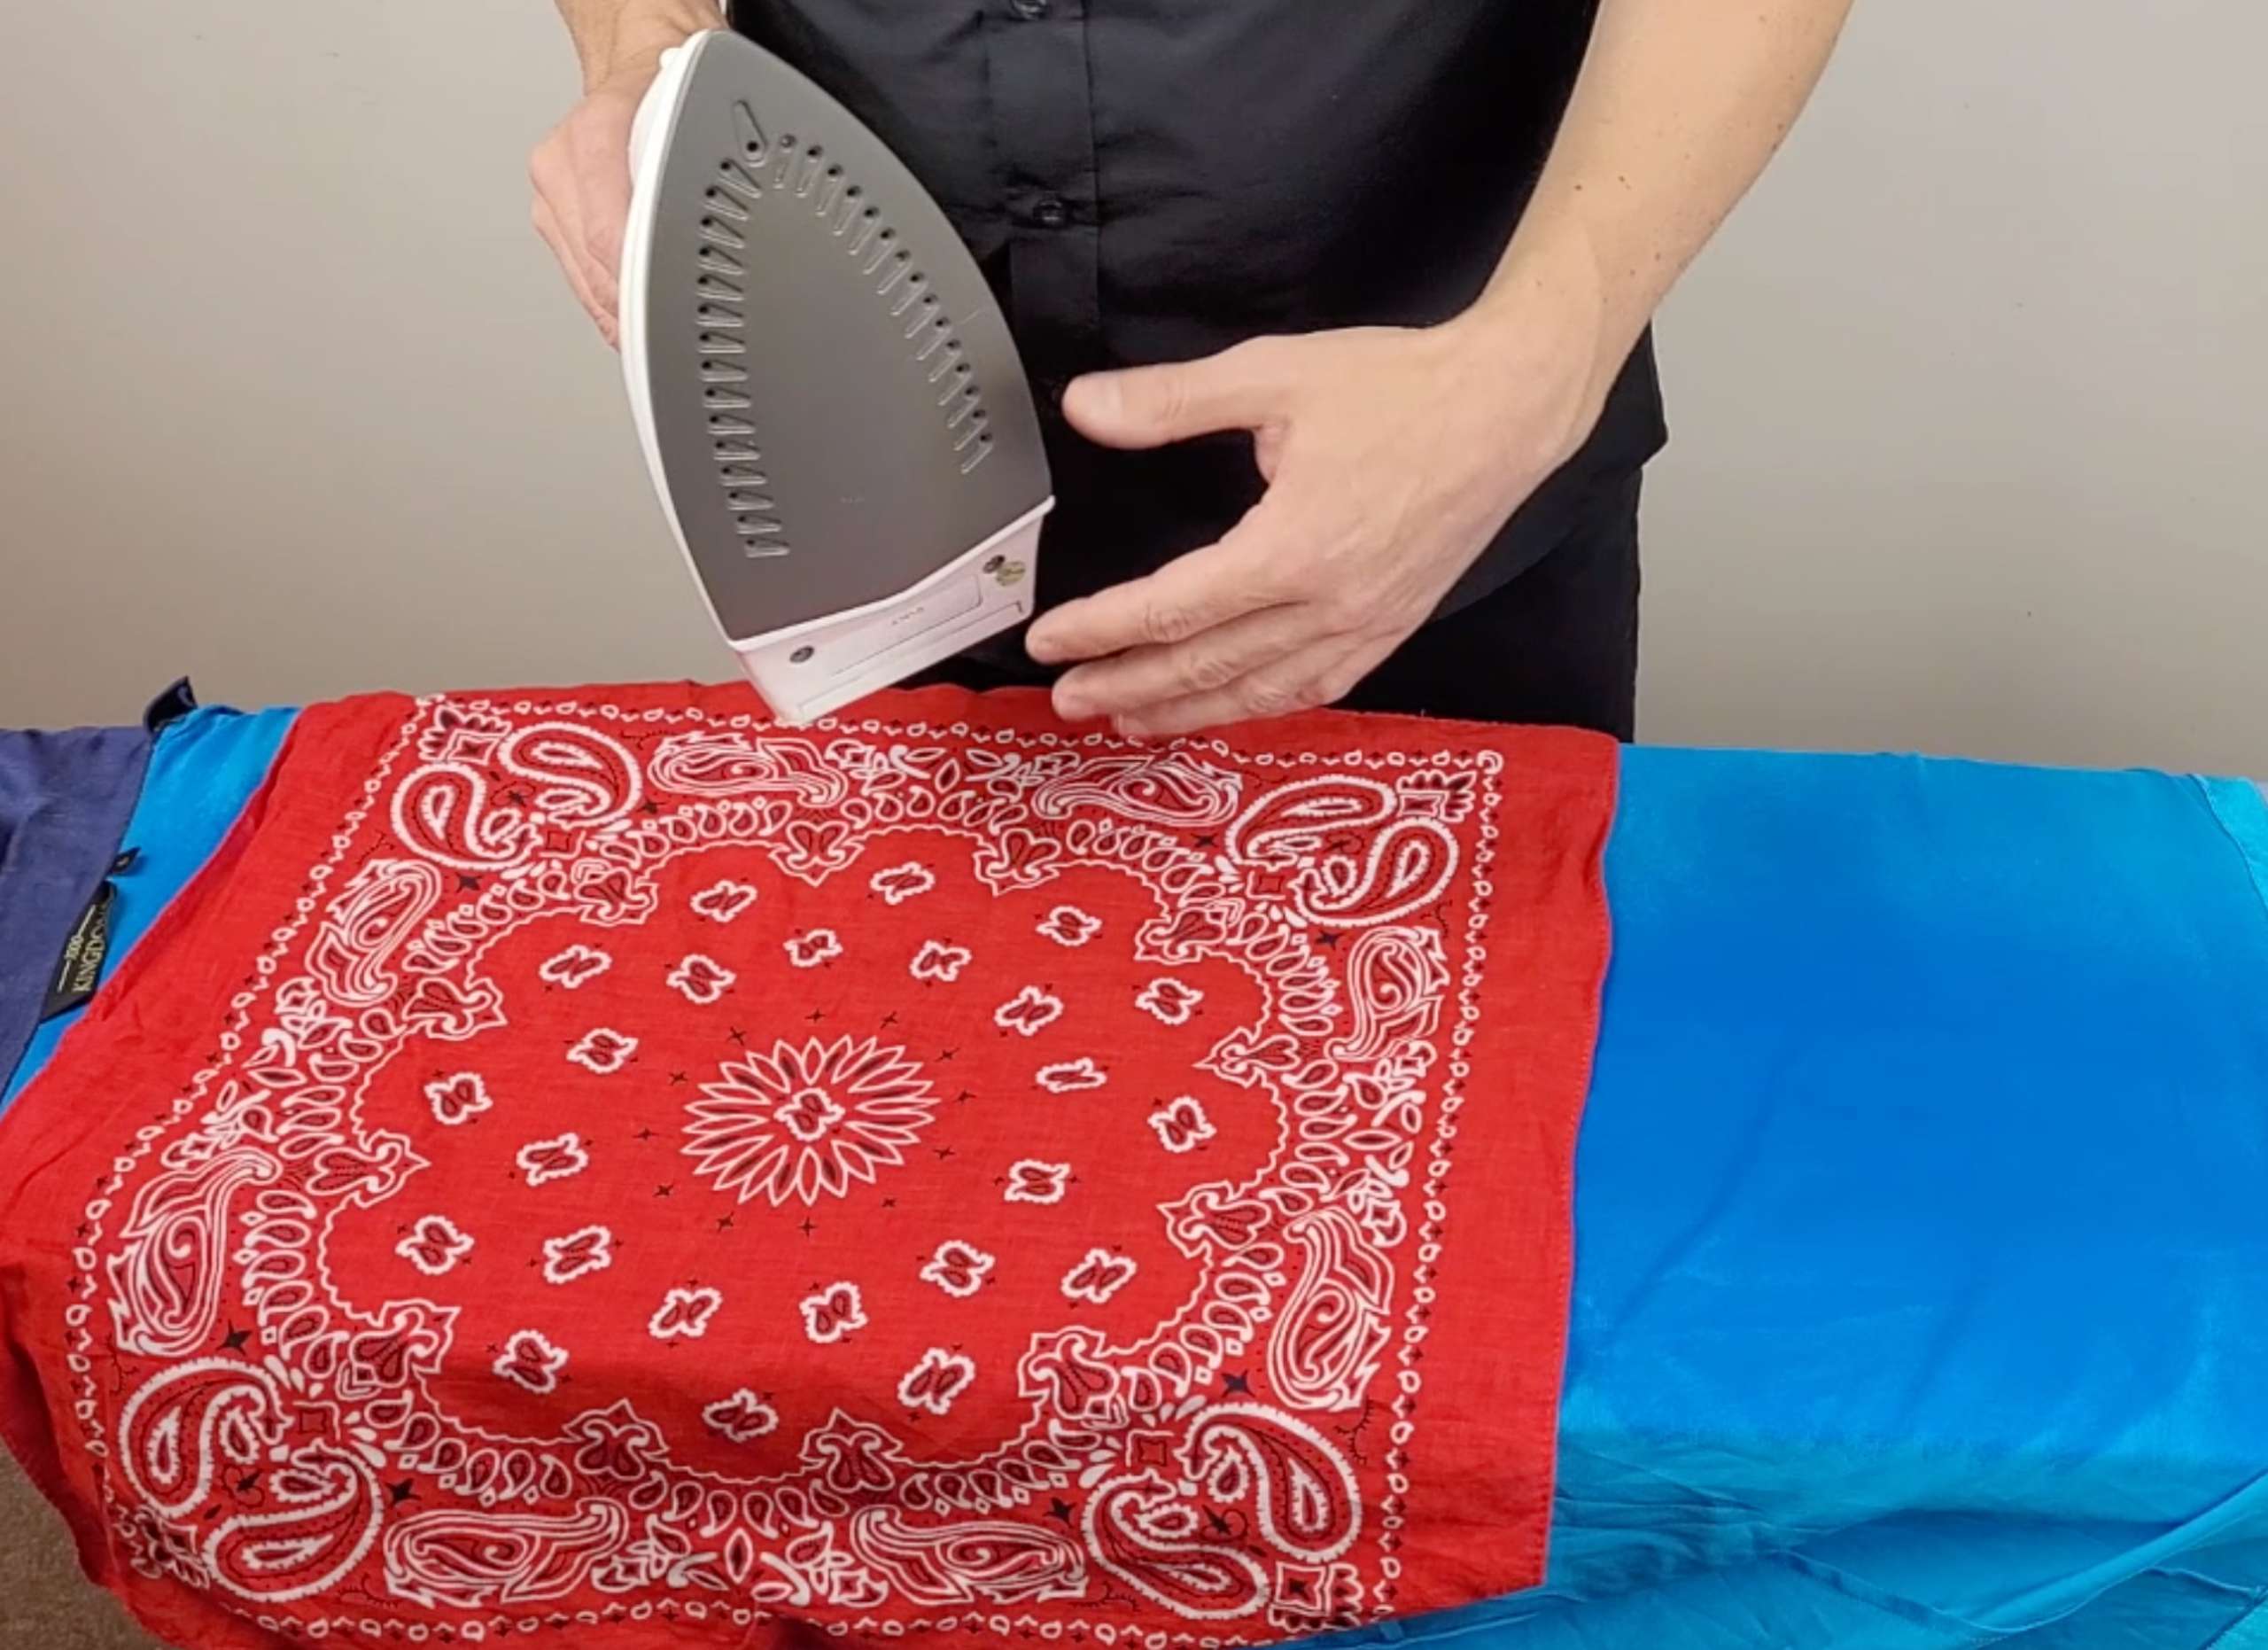
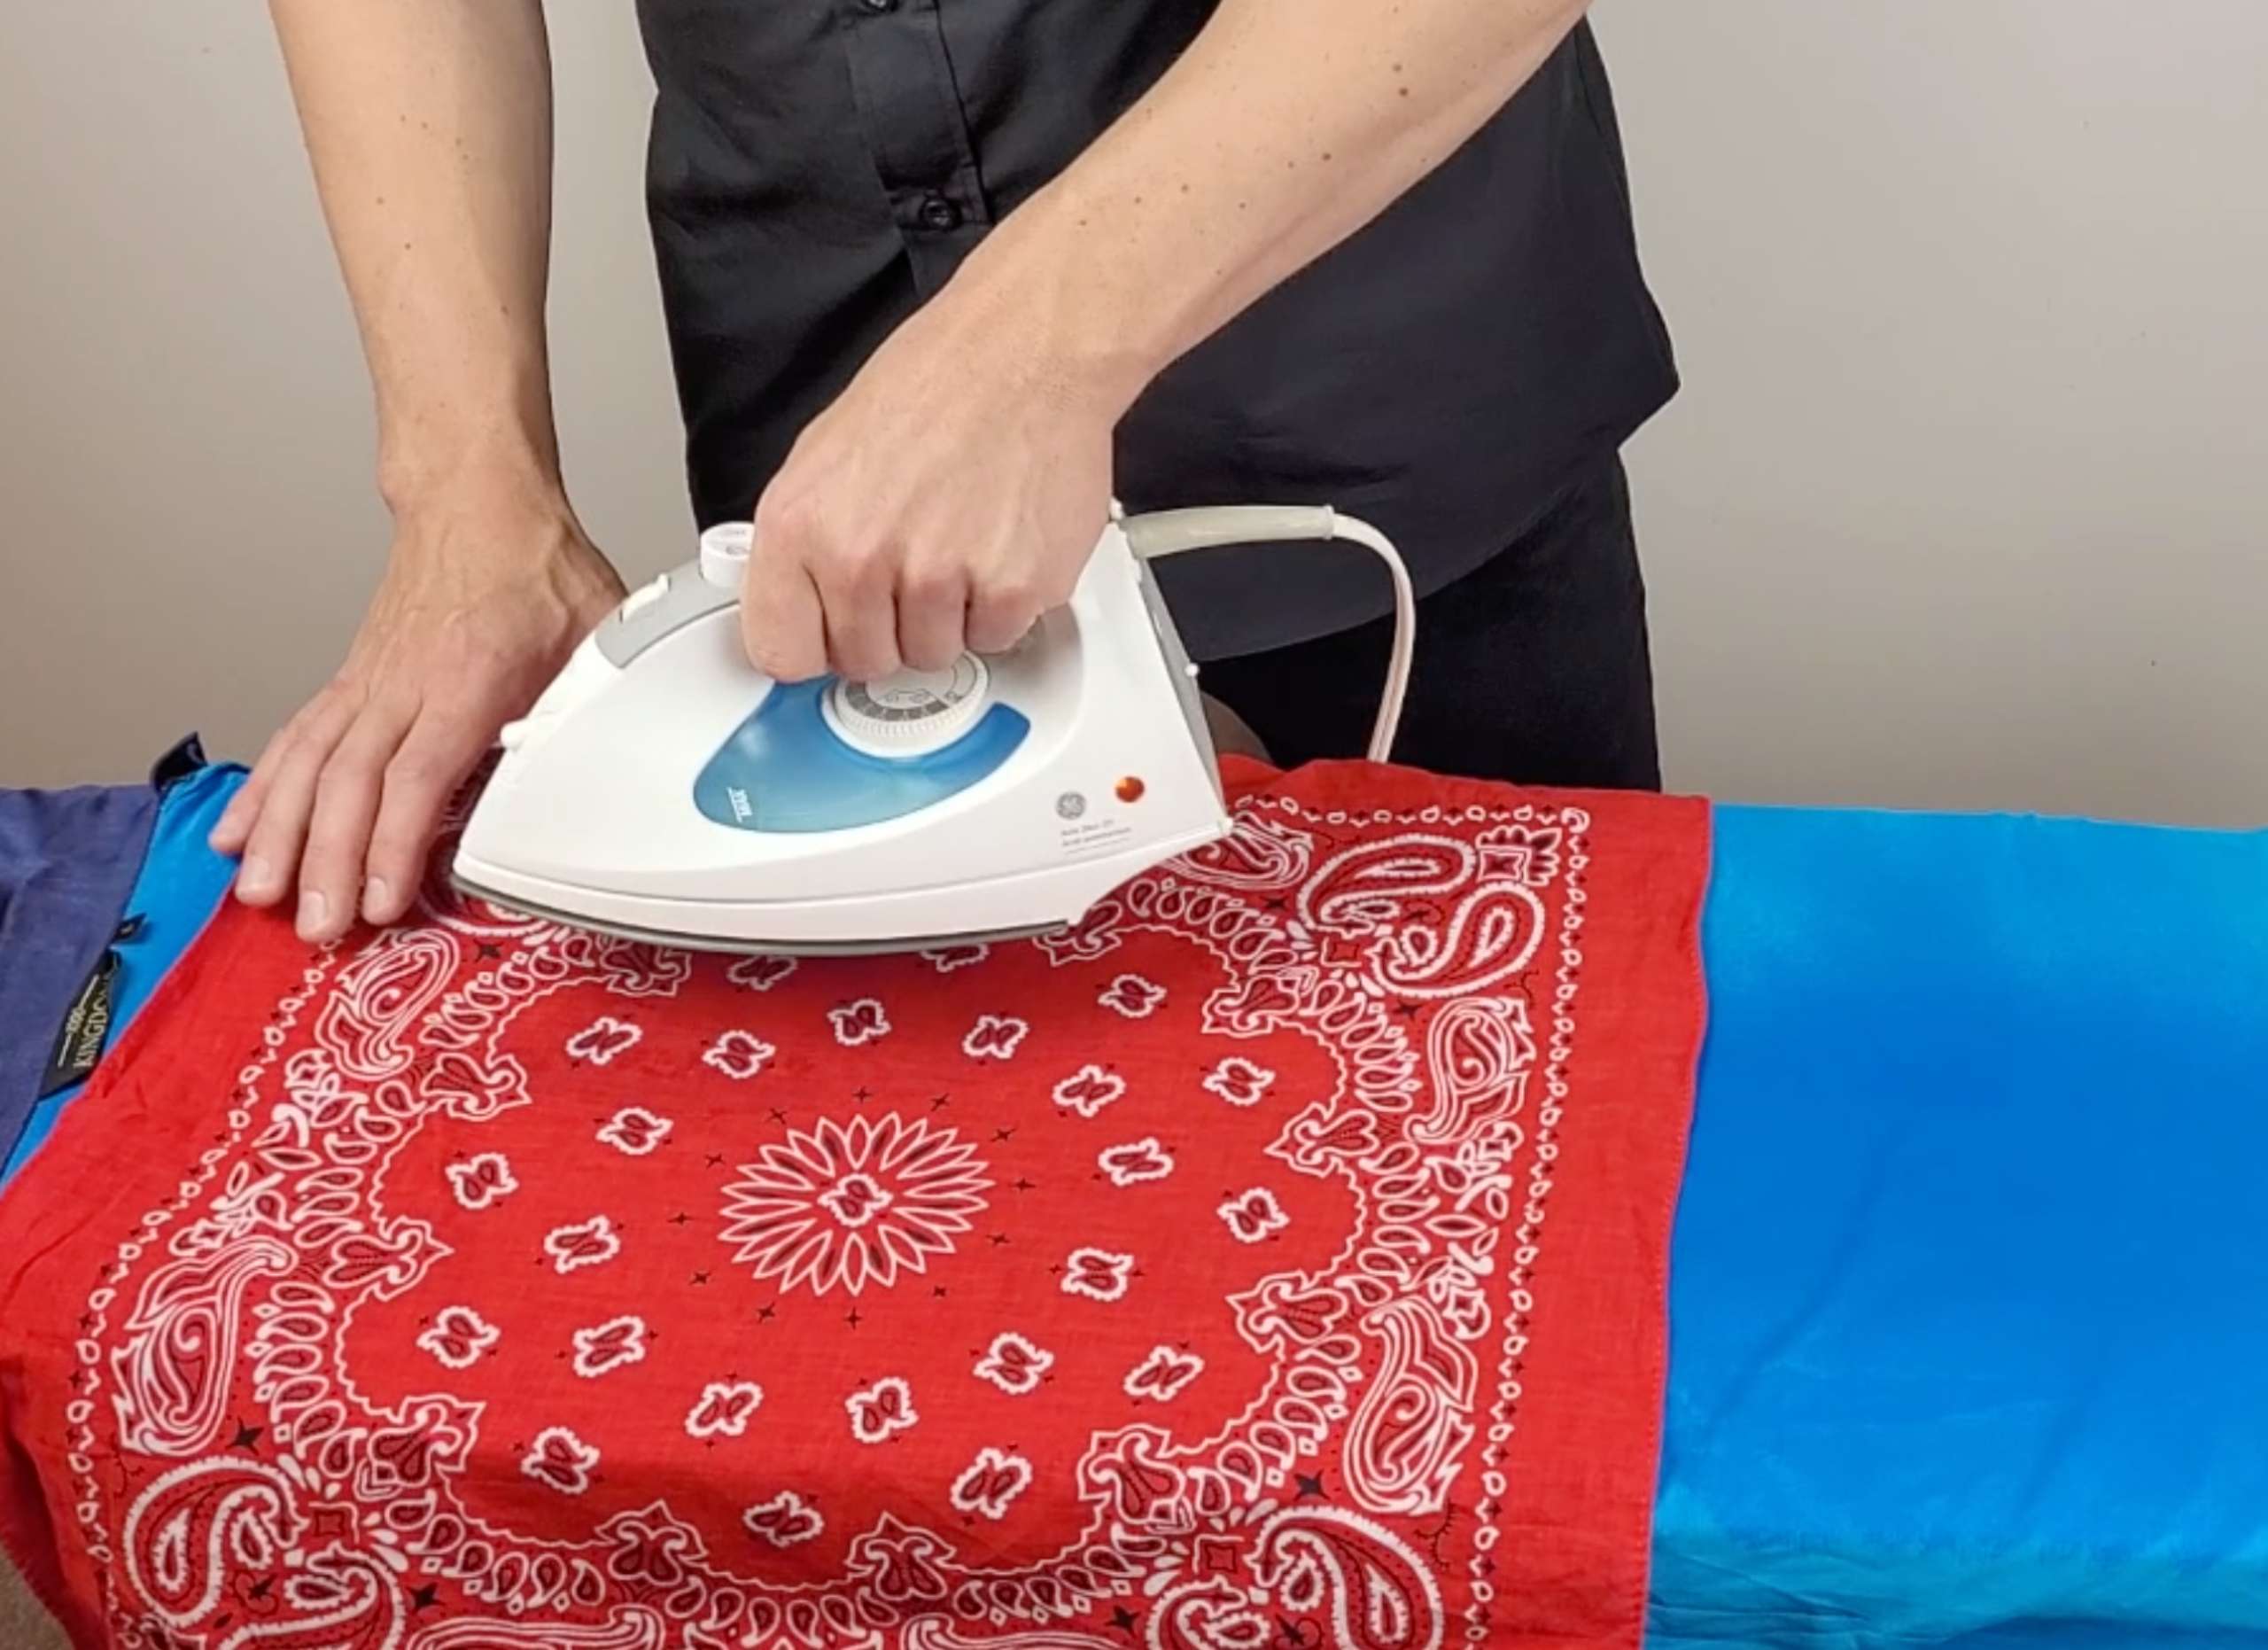
6. Hand Press the Iron
Proceed to hand press the iron down on the wrinkled areas. Briefly and firmly press the iron down, then lift it and place on a new spot. Do not slide the iron around on the fabric as you might do when ironing a pair of jeans or a cotton t-shirt. Simply press, lift, and repeat. Remember to always keep the pressing cloth in between the iron and the silk fabric.
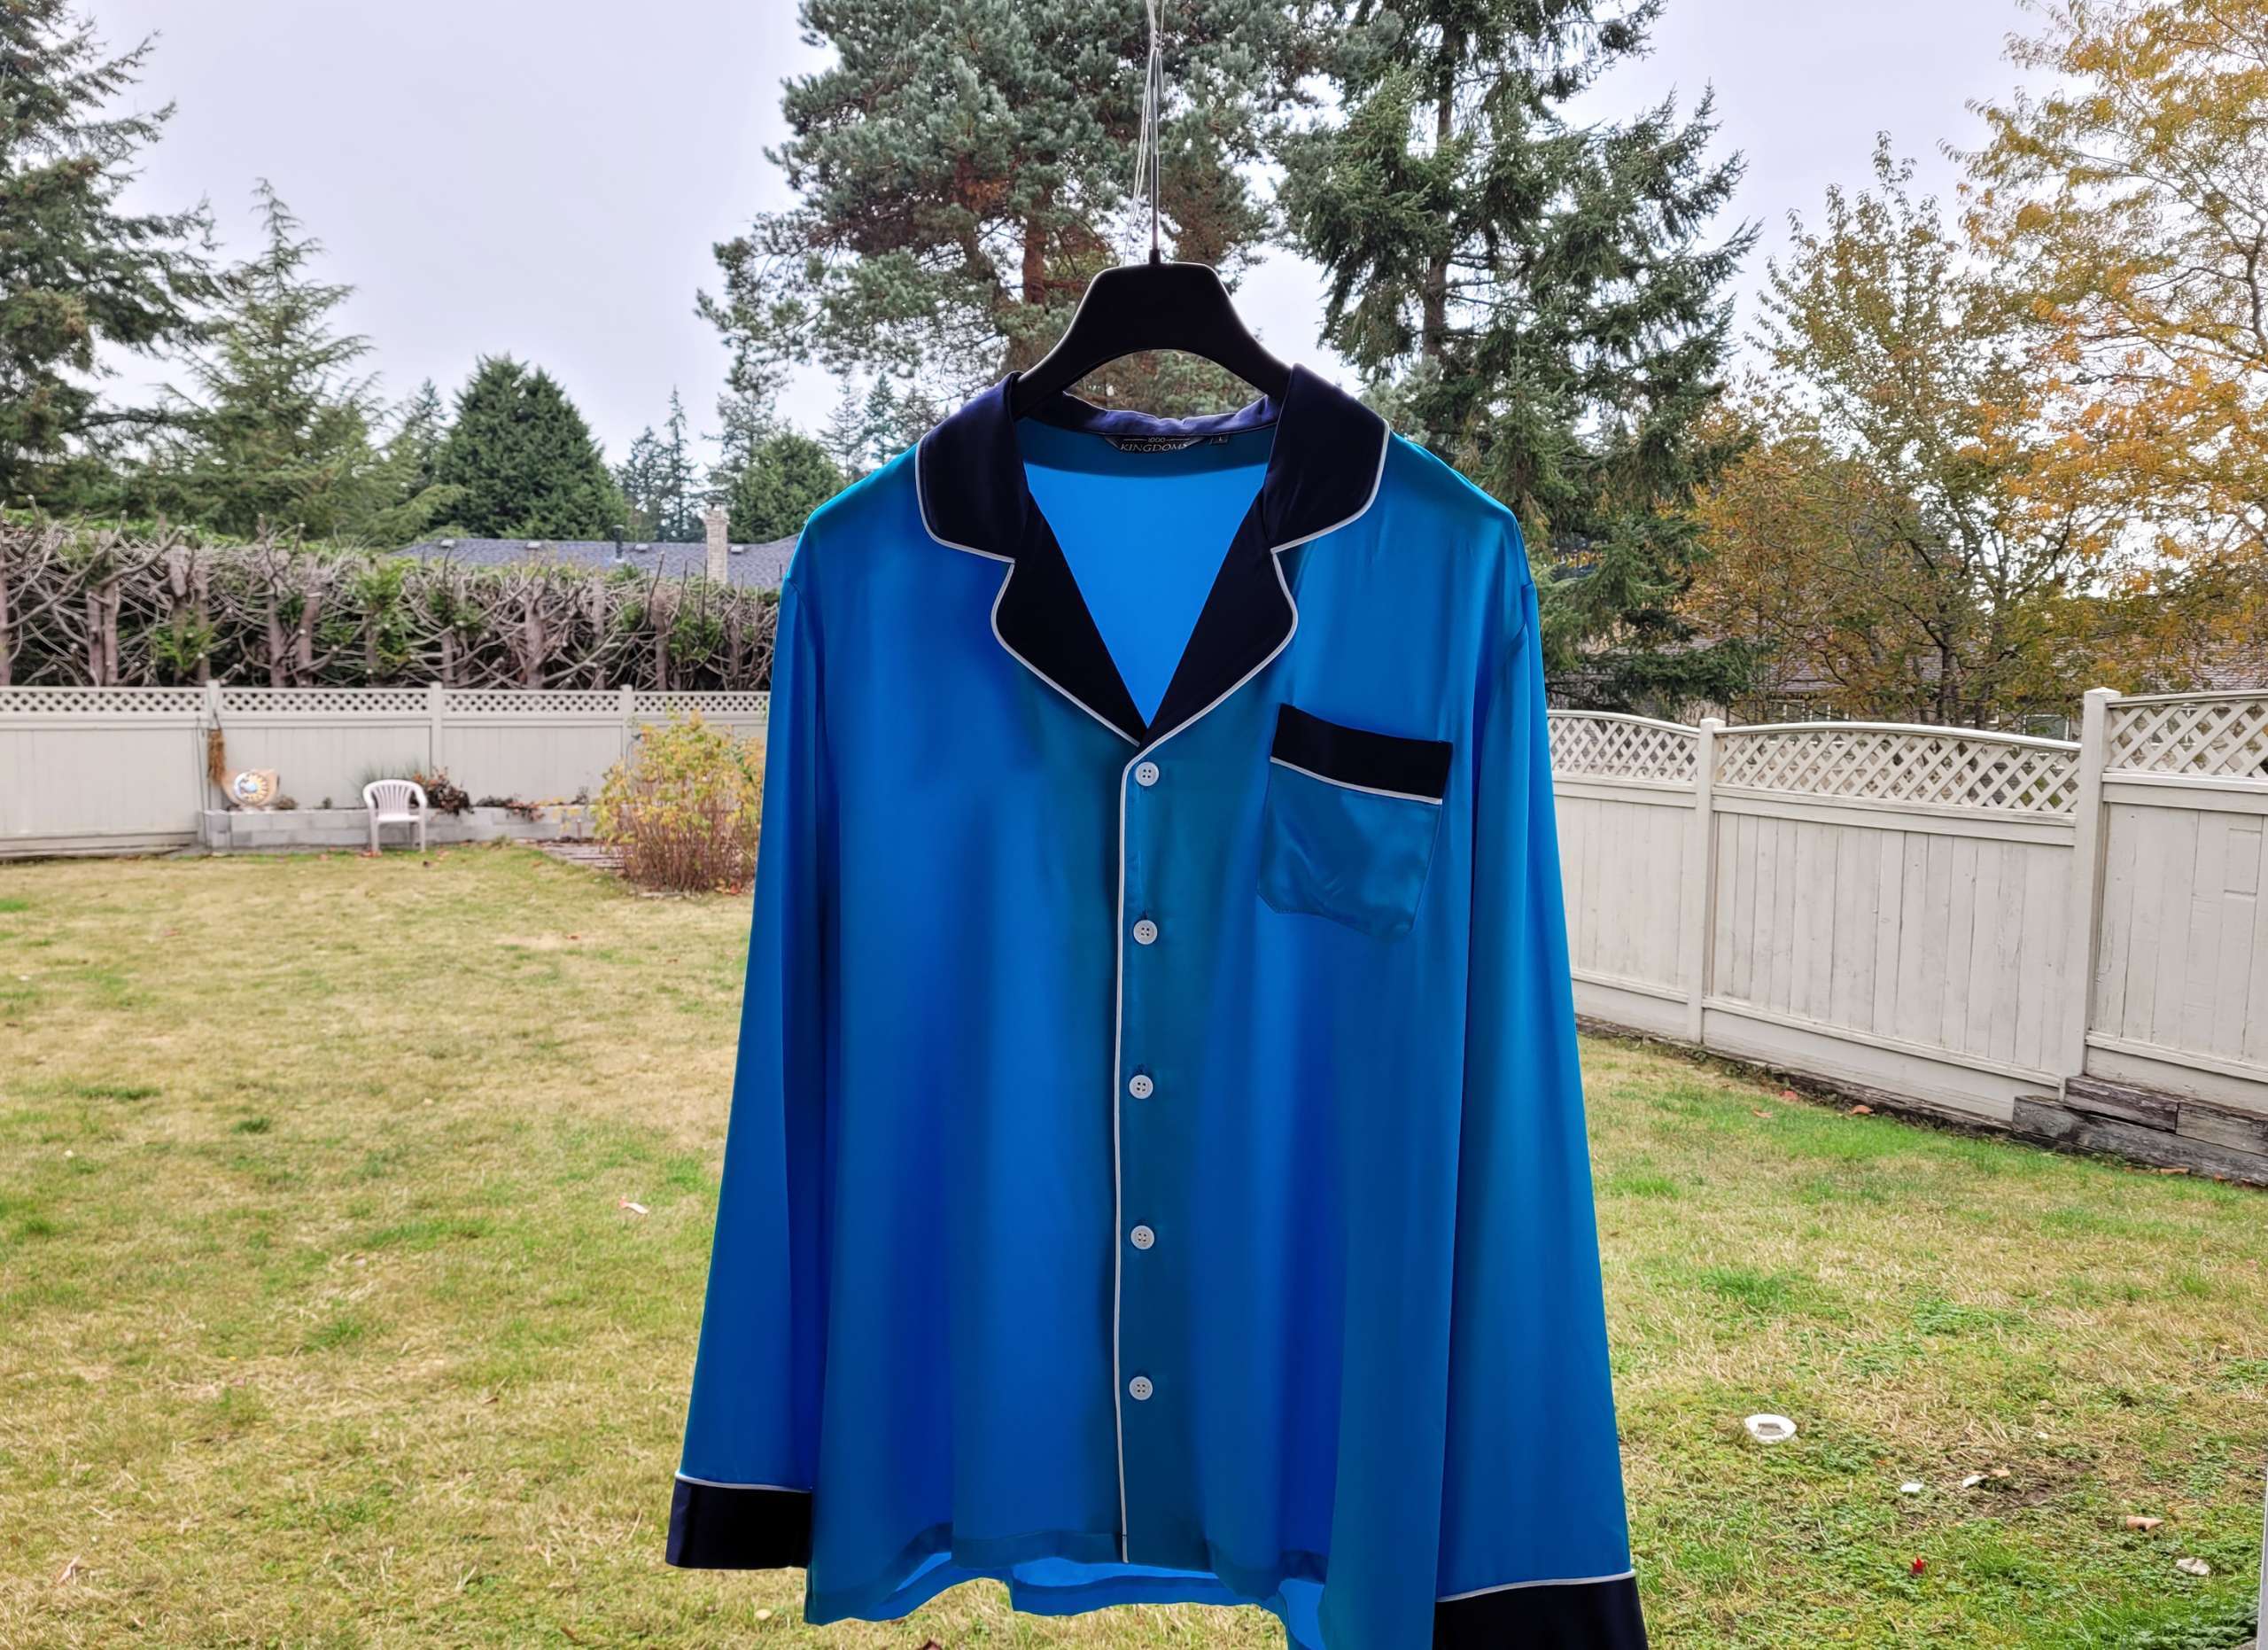
7. Air Dry
The garment may be slightly damp due to the moisture added in step 3. Hang or lay flat to air dryin a cool place out of contact with direct sunlight.
Step-by-Step Video
Learn how to iron other items made from silk by reading our step-by-step instructional guides.
How to Iron Silk FAQ
Can you directly iron silk?
Never iron directly onto silk fabric. Keep a cotton pressing cloth in between the iron and the surface of the silk fabric at all times. Never press a hot iron directly on to silk fabric. You can use a pillowcase, thin towel, bandana, or another type of thin cotton fabric, as a pressing cloth.
Is it better to steam or iron silk?
If your silk garment has deep and stubborn wrinkles then using an iron will be more effective than a steamer. If your silk garment has subtle wrinkles and light creases, then a seamer might be equally as useful as an iron.
What iron setting do you use for silk?
Turn the iron on to the lowest heat setting possible when preparing to iron silk. If your iron has a delicate/gentle setting you can also use that.
How do you unwrinkle silk without an iron?
To unwrinkle silk without an iron you can: Use a steamer, Hang the silk garment in a cool dry place, Hang the silk garment in the bathroom while you shower, Take the silk garment to the dry cleaners.
How to iron a silk tie
Iron a silk tie by laying it flat on an ironing board so that the backside is facing up. Add moisture by using a spray bottle with water, and cover the silk tie with a cotton fabric cover such as a bandana. Adjust the iron to the lowest heat setting and firmly press the iron down on the areas you wish to flatten. Continue until your tie is completely wrinkle free.